安装 MySQL #
系统版本:Ubuntu 18.04.6 LTS
a. 本地环境安装 #
sudo apt update
sudo apt install mysql-server
b. 使用 Docker 安装 #
docker run -itd --name mysql-container -p 9636:3306 --restart=always -e MYSQL_ROOT_PASSWORD={set-your-password} -v /path/to/mysql:/var/lib/mysql mysql:latest
查看版本 #
mysql --version
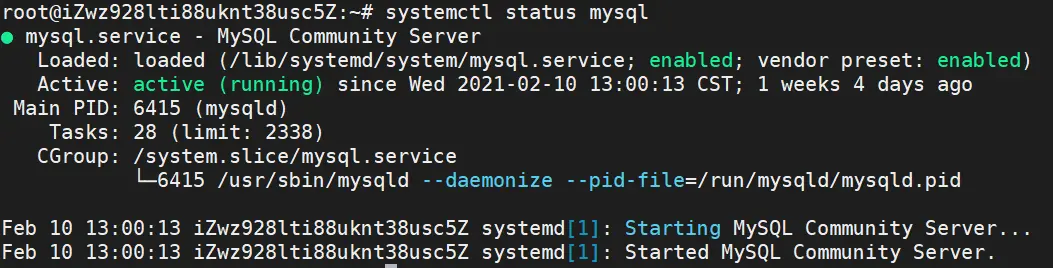
查看运行状态 #
systemctl status mysql
运行安全向导 #
MySQL 提供了一个脚本使数据库更加安全,建议首次安装完成后执行一次该脚本。
$ mysql_secure_installation
运行 mysql_secure_installation 会执行几个设置:
- 为 root 用户设置密码
- 删除匿名账号
- 取消 root 用户远程登录
- 删除 test 库和对 test 库的访问权限
- 刷新授权表使修改生效
root@iZwz928lti88uknt38usc5Z:~# mysql_secure_installation

Securing the MySQL server deployment.

Connecting to MySQL using a blank password.
The 'validate_password' plugin is installed on the server.
The subsequent steps will run with the existing configuration
of the plugin.
Please set the password for root here.

New password:

Re-enter new password:

Estimated strength of the password: 100
Do you wish to continue with the password provided?(Press y|Y for Yes, any other key for No) : y
By default, a MySQL installation has an anonymous user,
allowing anyone to log into MySQL without having to have
a user account created for them. This is intended only for
testing, and to make the installation go a bit smoother.
You should remove them before moving into a production
environment.

Remove anonymous users? (Press y|Y for Yes, any other key for No) : y
Success.


Normally, root should only be allowed to connect from
'localhost'. This ensures that someone cannot guess at
the root password from the network.

Disallow root login remotely? (Press y|Y for Yes, any other key for No) : y
Success.

By default, MySQL comes with a database named 'test' that
anyone can access. This is also intended only for testing,
and should be removed before moving into a production
environment.


Remove test database and access to it? (Press y|Y for Yes, any other key for No) : y
 - Dropping test database...
Success.

 - Removing privileges on test database...
Success.

Reloading the privilege tables will ensure that all changes
made so far will take effect immediately.

Reload privilege tables now? (Press y|Y for Yes, any other key for No) : y
Success.

All done!
运行完安全向导后,root 用户也许依然可以无密码登录。这是因为 root 用户的密码验证方式为 auth_socket,可以用以下命令查看。
mysql> select user, plugin from mysql.user;
+------------------+-----------------------+
| user             | plugin                |
+------------------+-----------------------+
| root             | auth_socket           |
| mysql.session    | mysql_native_password |
| mysql.sys        | mysql_native_password |
| debian-sys-maint | mysql_native_password |
| gitea            | mysql_native_password |
| cpl              | mysql_native_password |
+------------------+-----------------------+
auth_socket 方式无需验证密码,它只允许本地同名账户登录,因此安全性要优于mysql_native_password。不过仍可以通过以下命令修改 root 用户的校验方式,同时设置密码。
update mysql.user set authentication_string = password('password'), plugin = 'mysql_native_password' where user = 'root';
flush privileges;
配置远程访问 #
编辑 /etc/mysql/mysql.conf.d/mysqld.cnf 配置文件,注释掉bind-address = 127.0.0.1,保存退出,然后进入 MySQL 数据库,执行授权命令。
mysql -u root -p
mysql> grant all on *.* to root@'%' identified by 'password' with grant option;
mysql> flush privileges; # 刷新权限
mysql> exit

systemctl restart mysql # 重启 MySQL
登录 #
使用在运行安全向导中为 root 用户设置的密码登录 MySQL,看到如下界面则代表登录成功。
root@iZwz928lti88uknt38usc5Z:~# mysql -u root -p
Enter password:
Welcome to the MySQL monitor.  Commands end with ; or \g.
Your MySQL connection id is 31
Server version: 5.7.33-0ubuntu0.18.04.1 (Ubuntu)

Copyright (c) 2000, 2021, Oracle and/or its affiliates.

Oracle is a registered trademark of Oracle Corporation and/or its
affiliates. Other names may be trademarks of their respective
owners.

Type 'help;' or '\h' for help. Type '\c' to clear the current input statement.

mysql>
新建用户 #
create user 'username'@'host' identified by 'password';
- username:你将创建的用户名
- host:指定该用户在哪个主机上可以登陆,如果是本地用户可用
localhost,如果想让该用户可以从任意远程主机登陆,可以使用通配符% - password:该用户的登陆密码,密码可以为空,如果为空则该用户可以不需要密码登陆服务器
查看所有用户 #
SELECT User, Host, Password FROM mysql.user;(mysql version > 5.7)
select host,user,authentication_string from mysql.user;(mysql version <= 5.7>)
SELECT DISTINCT User FROM mysql.user;
查看所有数据库 #
show databases;
创建数据库 #
CREATE DATABASE database_name;
删除数据库 #
DROP DATABASE database_name;
选择数据库 #
use database_name;
退出数据库 #
\q
查看所有表 #
show tables;
参考链接 #
https://www.cnblogs.com/opsprobe/p/9126864.html
https://blog.csdn.net/qq_32786873/article/details/78846008
https://www.cnblogs.com/xiaozi/p/10552100.html
https://developer.aliyun.com/article/415339
https://blog.csdn.net/tcliuwenwen/article/details/105453599
https://www.cnblogs.com/sos-blue/p/6852945.html
screw 简洁好用的数据库表结构文档生成器